.png)
How to Wash a Car Professionally (Step-by-Step)
- Andre Mezalira

- Mar 4
- 4 min read
Updated: 5 days ago

Washing a car properly is not just about removing visible dirt.
Improper washing is one of the leading causes of paint damage, swirl marks, and premature coating failure.
Professional detailers follow a structured wash process designed to:
• Reduce friction
• Prevent paint scratching
• Remove contamination safely
• Preserve clear coat and protective layers
This guide explains the professional car wash process step-by-step used in modern detailing workflows.
If you’re building a structured detailing workflow, start with our complete Exterior Detailing Cleaning Guides, which explain modern washing systems and surface-safe cleaning methods.
Quick Answer: How Do Professionals Wash Cars?
Professional car washing focuses on removing contamination before touching the paint.
The process typically follows this order:
• Pre-rinse
• Foam pre-wash
• Contact wash (two-bucket method)
• Wheel and tire cleaning
• Final rinse
• Safe drying
The goal is minimizing friction while removing contamination efficiently.
Why Proper Washing Matters
Automotive paint is protected by a thin clear coat layer.
When dirt particles are dragged across the surface during washing, they can create:
• Swirl marks
• Micro-scratches
• Dull paint finish
• Premature coating wear
Professional washing techniques reduce this risk by loosening contamination before contact occurs.
This is why pre-washing and lubrication are critical steps.

Professional Car Washing Workflow
Step 1 — Pre-Rinse the Vehicle
Begin by rinsing the entire vehicle using moderate water pressure.
This step removes:
• Loose dirt
• Sand
• Road debris
• Surface dust
Removing loose contamination first reduces friction during the contact wash stage.
Step 2 — Apply Foam Pre-Wash
Next, apply a foam pre-wash solution using a foam cannon or foam sprayer.
Foam helps:
• Soften road grime
• Lift dirt particles
• Encapsulate contamination
Allow the foam to dwell for 1–3 minutes, but do not let it dry on the surface.
This step dramatically reduces the amount of contamination remaining on the paint.
Step 3 — Rinse the Foam
After the foam has loosened contamination, rinse the vehicle thoroughly.
This removes the majority of dirt before physical contact with the paint occurs.
Professional detailers rely heavily on this stage to prevent swirl marks.
Step 4 — Perform the Contact Wash
Once most contamination has been removed, the vehicle can be washed manually.
Use the two-bucket method:
• One bucket with clean soap solution
• One bucket with rinse water
Wash using a microfiber wash mitt, starting from the top of the vehicle and working downward.
Upper panels are typically cleaner than lower panels.
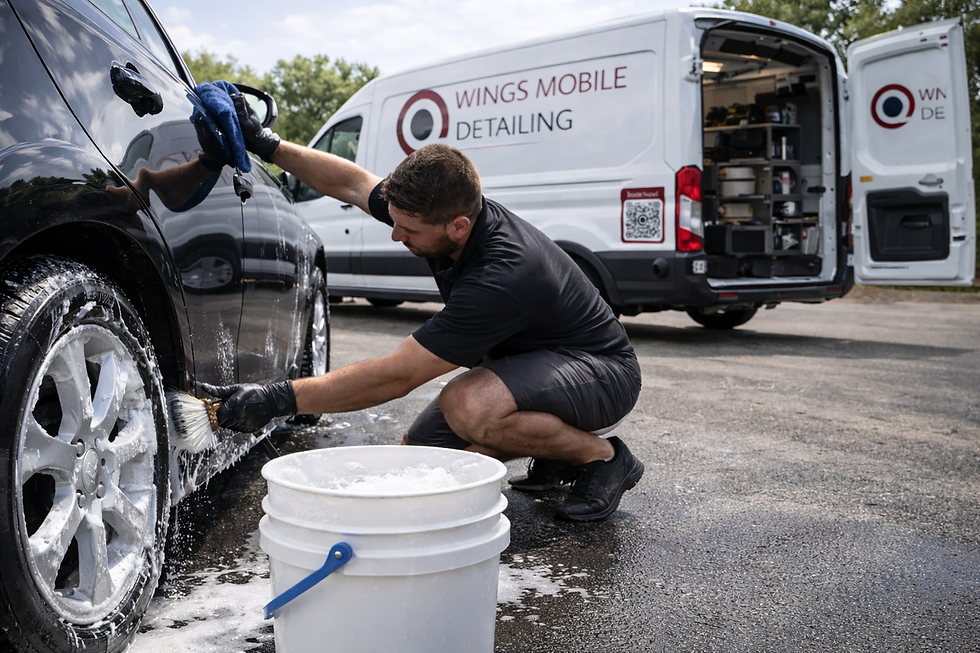
Step 5 — Clean Wheels and Tires
Wheels and tires should be cleaned using dedicated brushes and cleaners.
Brake dust and road grime are highly abrasive, so wheel tools should never be used on paint surfaces.
Common tools include:
• Wheel barrel brushes
• Tire brushes
• Lug nut brushes
Always rinse wheels thoroughly after cleaning.
Step 6 — Final Rinse
After the contact wash, rinse the entire vehicle again.
Make sure all soap residue is removed from:
• Panel gaps
• Trim pieces
• Mirrors
• Emblems
Remaining soap can leave water spotting or residue marks.
Step 7 — Safe Drying
Drying is often overlooked, but it’s another moment where paint damage can occur.
Professional drying methods include:
• Large microfiber drying towels
• Filtered air blowers
• Touchless drying systems
Avoid using household towels or chamois materials, which can scratch paint.
Common Car Washing Mistakes
1. Skipping the Pre-Wash
This forces dirt to be dragged across paint during contact washing.
2. Using One Bucket
Without a rinse bucket, contamination remains in the wash solution.
3. Washing in Direct Sunlight
Heat causes soap to dry quickly, leading to water spotting.
4. Using Household Sponges
Sponges trap contamination and increase the risk of scratching paint.
Recommended Washing Frequency
For most daily-driven vehicles:
• Maintenance wash: every 1–2 weeks
• Decontamination wash: every 3–6 months
Frequent maintenance washes help prevent heavy contamination buildup.
Frequently Asked Questions
Is foam pre-wash necessary?
Foam pre-washing greatly reduces friction during washing by loosening dirt before the contact wash stage.
Does washing cause swirl marks?
Improper washing can create swirl marks when dirt particles are dragged across paint surfaces.
Should wheels be cleaned first or last?
Many professionals clean wheels first to prevent brake dust splashing onto clean paint.
Final Thoughts: Washing Is the Foundation of Paint Care
Professional exterior detailing begins with proper washing technique.
A structured wash process helps:
• Protect clear coat
• Reduce swirl marks
• Extend coating life
• Preserve the appearance of the vehicle
When done correctly, washing becomes a paint-preserving maintenance routine rather than a source of damage.
Continue Learning
If you’re building a professional exterior detailing workflow, explore:
This article is part of the complete Exterior Detailing Cleaning Guides by Wings Formula Pro.

WINGS FORMULA PRO
Wings Formula Pro is the professional detailing system developed inside Wings Mobile Detailing operations. Built by real-world detailers, our surface-safe chemistry is engineered for modern automotive materials and repeatable results. Learn how exterior, interior, ceramic, controlled pH formulas, and technician-level standards protect vehicles the right way.


Comments